Understanding Your Electric Razor
Getting to Know Your Electric Shaver
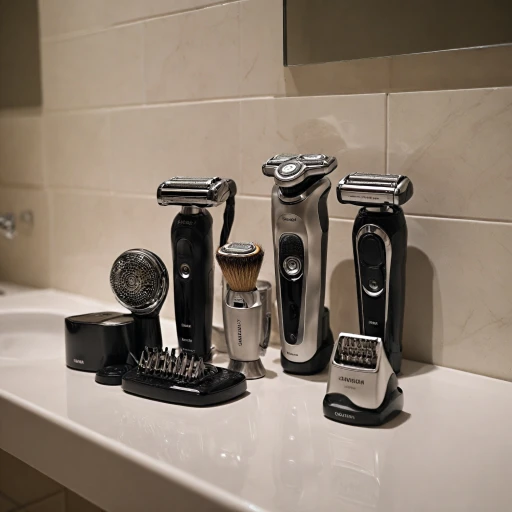
Before diving into the cleaning process, it's essential to understand the different components of your electric shaver. These grooming tools are designed to offer a convenient and efficient shaving experience, but each part plays a crucial role in maintaining optimal performance. Familiarizing yourself with these components will not only make the cleaning process easier but also help you avoid common mistakes.
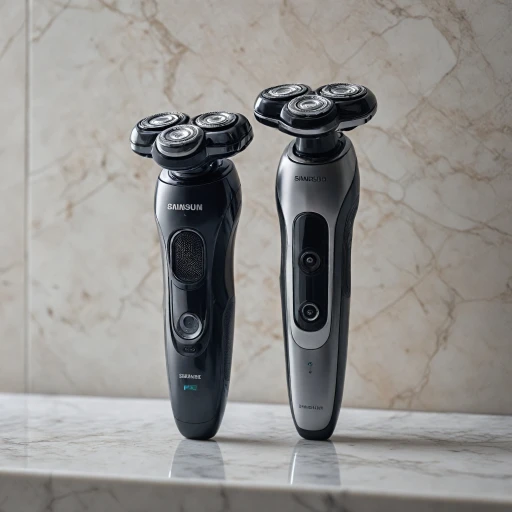
Most electric shavers, whether they are rotary or foil, consist of a shaving head, blades, and a motor. The shaving head is where the magic happens, capturing hair and cutting it close to the skin. It's important to keep this area clean to ensure a smooth shave. Blades are the heart of the shaver, and keeping them sharp and free of debris is vital. Lastly, the motor powers the entire unit, and while it doesn't require direct cleaning, ensuring the rest of the shaver is well-maintained will keep the motor running smoothly.
Electric shavers also come with various features and accessories, such as a cleaning brush or a cleaning station, which can aid in the maintenance process. Some models even include a spray cleaner for a more thorough clean. Reading the user manual provided with your shaver is always a good practice, as it offers specific instructions and tips tailored to your model.
Understanding these components and their functions will set the foundation for effective cleaning and maintenance. For more detailed insights on maintaining your electric shaver, you can explore effective methods for maintaining your electric shaver.
Essential Tools for Cleaning
Gathering Necessary Equipment
Before you embark on the journey of cleaning your electric razor, it's important to have all the essential tools at hand. This will ensure a smooth and effective process, ultimately helping you maintain your shaver in optimal condition. Here’s what you’ll need:
- Cleaning Brush: Often included with the purchase of your electric shaver, a small brush is critical for sweeping away hair and debris from the blades and shaving head.
- Water: Depending on the model and manufacturer's instructions, a bit of water can help in the cleaning process. Some razors, especially waterproof models, can be rinsed under running water.
- Spray Cleaner: A specially formulated cleaning spray can help dissolve stubborn gunk and maintain razor sharpness. Look for one that’s recommended for your specific brand and model.
- Soft Cloth or Towel: For drying your razor completely post-cleaning; it’s essential to keep your equipment dry to prevent rust and prolong its lifespan.
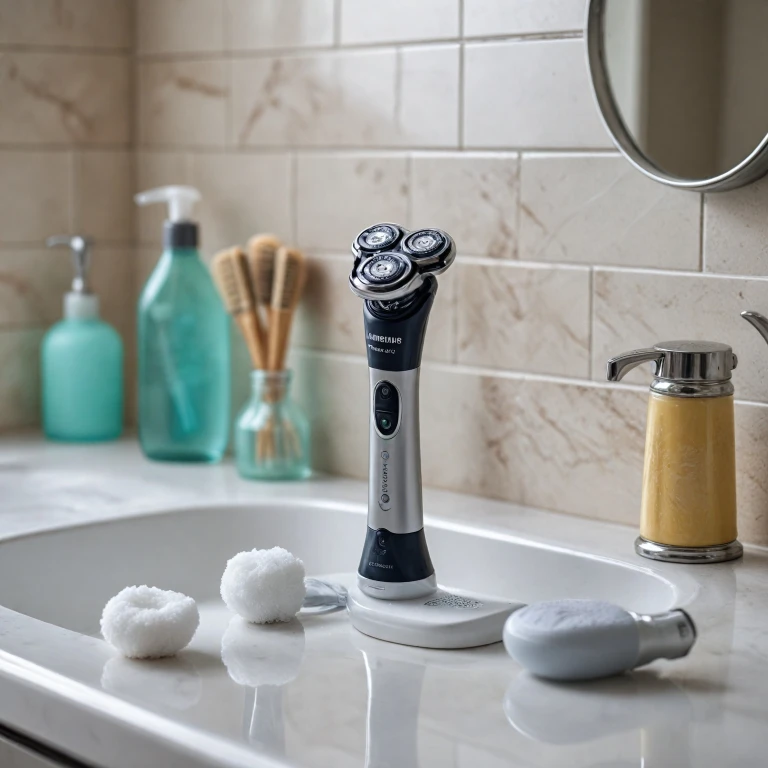
- Philips Shaver Cleaning Station (or equivalent): Advanced shavers often come with their own cleaning stations, which automatically clean, dry, and even lubricate the shaver.
Refer to your user manual for specific guidance on the best tools and methods for cleaning your particular model. This preparatory step will set the stage for a thorough and effective cleaning process, saving you time and ensuring the longevity of your electric shaver.
Step-by-Step Cleaning Process
Cleaning Your Electric Razor: Step-by-Step
To ensure your electric shaver remains in optimal condition, regular cleaning is crucial. Follow these detailed steps to effectively clean your razor and maintain its performance:- Preparation: Start by unplugging the electric shaver. This is a must to prevent any electrical accidents. Remove the shaving head carefully to access the inner parts.
- Disassemble the Shaving Head: Depending on your model, this could mean removing the foil from the foil shaver or unclipping the rotary head on electric razors. Most shavers provide easy pop-up head functions for access. Read the user manual for instructions specific to your model.
- Brush Away Loose Hair: Use the razor brush to gently remove loose hair and debris from the blades. This will help prevent clogging. A narrow cleaning brush can easily reach tight spots, ensuring all areas are addressed.
- Rinse Under Water: If your electric razor is waterproof (always check first), rinse the head and blades under warm running water. For best results, consider applying a bit of liquid soap to assist in breaking down any remaining residue.
- Dry Completely: After rinsing, shake off excess water and let the components air dry completely before reassembly. Ensuring your shaver is dry will prevent rust and maintain the efficiency of the electric shaver.
- Use a Spray Cleaner: For a deeper clean, consider using a spray cleaner designed for electric shavers. This will disinfect the blades and shaving heads, offering a thorough cleansing, especially for those devices used often.
- Reassemble Your Razor: Once all components are dry, carefully reassemble the shaving head and ensure everything clicks into place. This guarantees optimal performance for your next shave.
Common Mistakes to Avoid
Errors to Steer Clear Of While Cleaning
Cleaning your electric shaver might seem straightforward, but there are some pitfalls you'll want to avoid to ensure your razor remains in peak condition. Here's what you need to know:- Excessive Water Use: While many shavers are waterproof, it's vital to check if yours is. Soak units that aren't designed for water can lead to damage. Always ensure the shaving head is suitable for water before submerging.
- Misuse of Cleaning Products: Not all cleaning agents are safe for your razor. Avoid using harsh chemicals that can corrode the blades or foil. Stick to those recommended by the manufacturer or specific electric razor cleaners.
- Neglecting the User Manual: Your manual is your best friend when cleaning. It often contains specific instructions tailored to your model, including the best way to remove and clean each part.
- Failing to Air Dry: Before reassembling your shaver, ensure all parts are completely dry. This prevents rust formation and unwanted odors. Leaving moisture can damage the electrical components over time.
- Forceful Cleaning Techniques: Avoid using too much pressure when using a cleaning brush. This can damage the delicate blades and foil. Instead, gently brush away debris and hair.
Being mindful of these mistakes will extend the life of your razor and ensure a more effective shave every time. For more tips on maintaining electric razors, refer back to our guide on proper cleaning tools and steps.
Maintaining Your Razor for Longevity
Maximizing the Life of Your Electric Shaver
Maintaining your electric razor doesn't end with effective cleaning. To ensure longevity and peak performance, regular care practices are crucial. Let’s look at some key tips that will help you extend the life of your shaver.
- Regularly Replace Shaving Heads and Blades: Over time, the blades and shaving heads wear out due to continuous use. It's advisable to replace these components as recommended by the manufacturer. For instance, Philips shavers may suggest new shaving heads every 12 months.
- Avoid Excess Water Exposure: While some electric shavers are waterproof, like many electric razors in the market, excessive exposure to water can cause long-term damage. After cleaning, ensure the device is thoroughly dry by allowing it to air dry completely before reassembling.
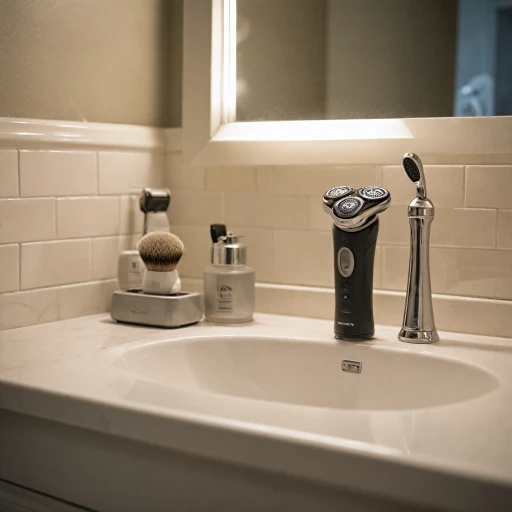
- Proper Storage: Store your razor in a dry place. Avoid leaving it in damp areas such as bathroom countertops where moisture can infiltrate and affect performance.
- Regular Use of Cleaning Brushes: Using a cleaning brush, especially those included with your shaver, helps maintain cleanliness by removing small particles like hair and shaving debris.
- Utilizing Shaver Cleaning Stations: If available, use a compatible cleaning station. These units can automatically clean and dry your shaver, ensuring thorough maintenance after each use.
- Obeying the User Manual: The user manual provided can offer insightful guidance tailored to your specific model. These instructions help in properly maintaining your razor according to its unique needs.
By integrating these practices into your routine, your electric shaver will not only provide a clean shave but also maintain its performance and lifespan. Regular maintenance, alongside careful cleaning, ensures your grooming appliance remains in mint condition for years to come.
Troubleshooting Cleaning Issues
Dealing with Common Cleaning Challenges
Troubleshooting cleaning issues for your electric shaver can sometimes be tricky, but with a little know-how, you can ensure your razor operates smoothly. Here are a few common problems and how to address them:
- Stubborn Hair and Debris: If you notice hair or residue that's difficult to remove, consider using a dedicated razor brush to gently clean the blades and shaving head. For foil shavers, take extra care not to damage the delicate mesh.
- Poor Shaving Performance: If your electric shaver isn't delivering the best shave possible, it may be time for a deep clean. Disassemble the shaving unit and thoroughly rinse it with water, using a spray cleaner for a more thorough cleaning. Ensure all parts are dry completely before reassembling.
- Residue Buildup: For razors with cleaning stations, make sure to use the proper cleaning fluids recommended in the user manual. A good cleaning station can remove stubble and residue effectively, maintaining optimal performance.
- Difficulty in Drying: To air dry your shaver efficiently, place it in a well-ventilated area. This prevents any moisture from being trapped, which can lead to corrosion or hygiene issues.
- Blade Replacement Needs: Sometimes, persistent cleaning issues indicate that it's time to change the blades or the shaving head. Regularly check the user manual for replacement guidelines to keep your shaver in top condition.
Remember, regular maintenance and following the recommended cleaning procedures play a crucial role in prolonging the life of your electric razor. For a deeper dive into maintaining your razor for optimal use, familiarize yourself with the best practices for maintaining electric shavers.