Understanding Your Remington Trimmer HC4250
Getting to Know Your Remington HC4250
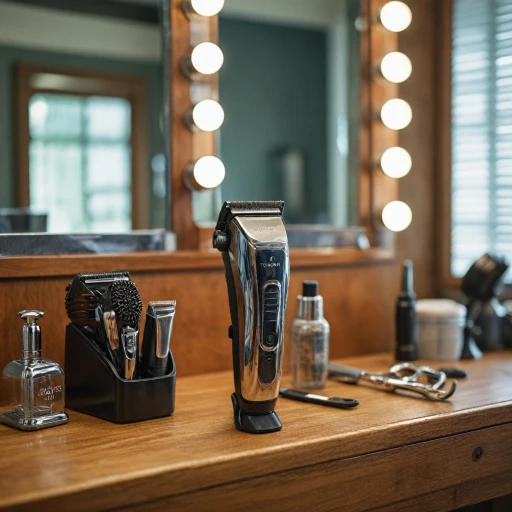
The Remington HC4250 is an essential tool for anyone looking to maintain a polished appearance with ease. Known for its convenient and ergonomic design, this hair clipper allows users to cut, shape, and style hair with precision. The product stands out because of its compact size and effectiveness, making it an attractive option for personal grooming at home. The Remington brand, celebrated for its superior grooming gadgets, engineered the HC4250 to deliver a clear-cut performance with every use. Designed with a special blade technology, the Remington blade can manage various hair lengths and types with no difficulty. Users appreciate the reliable performance of its blade when striving for a professional look. Feedback on this product, especially from verified purchases, often highlights its quick operation and user-friendly features. By simply attaching one of the guide combs, users can effortlessly maintain their preferred hair length without frequent trips to the barber. Often dubbed the Remington Shortcut Pro, the HC4250 is perfect for achieving a quick cut. With a rechargeable battery providing hours of use, this Remington hair trimmer ensures that power supply interruptions are minimal. However, understanding when the battery needs replacement can optimize its longevity and ensure the smooth performance of the device. For a thorough understanding of the versatility offered by t-trimmers as part of your grooming toolkit, you can learn more here. Finding the right combination of features in a hair clipper is crucial. Whether you’re considering the HC4250 for its promising delivery on Amazon or through a trusted retailer, ensure you integrate feedback from fellow users to gauge its compatibility with your grooming needs. And remember, maintaining your Remington hair clipper well helps extend its performance and life span.Signs Your Trimmer Battery Needs Replacement
Recognizing When It's Time for a New Battery
When using your Remington Trimmer HC4250, staying alert to potential battery issues can ensure a smooth haircut experience. There are several signs that indicate a battery replacement might be necessary.- Reduced Runtime: If your trimmer doesn’t seem to hold the charge as it used to, this could signal a weakened battery. A fully charged battery should allow you to cut hair for an extended period seamlessly.
- Inconsistent Power: Experiencing fluctuations in power during use, such as the blade speed wavering, may be a sign that your battery is failing.
- Prolonged Charging Times: When the device takes unusually long to reach full charge but discharges rapidly, it's a sign that the hair clippers are no longer operating at their full potential.
- Frequent Overheating: Repeated instances where the trimmer heats up quickly can indicate the battery's decline.
Tools Required for Battery Replacement
Essential Tools for Your Battery Replacement Project
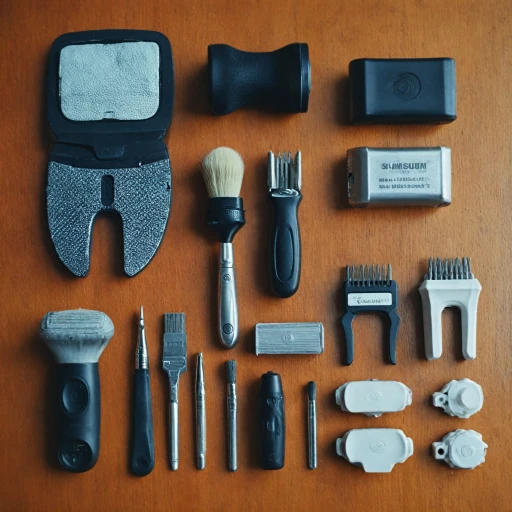
Before diving into the battery replacement process for your Remington Trimmer HC4250, it's crucial to gather all necessary tools to ensure a smooth transition. Proper preparation can make the task more manageable and help you avoid potential pitfalls.- Screwdriver Set: A small Phillips-head screwdriver will be required to access the battery compartment. Consider investing in a versatile set, as this may be useful in other repair tasks.
- Replacement Battery: Ensure you have a compatible battery ready. The Remington battery specific to your trimmer model can often be found on platforms like Amazon or directly from verified sellers.
- Soldering Kit (if necessary): Depending on your Remington hair clipper's design, you might need to solder new connections. A basic soldering kit should suffice, but always check the manual hair guide for specific instructions.
- Protective Gloves: Safety should always be a priority. Using gloves can protect your hands from sharp components like the blade Remington parts or when handling any small electronic pieces.
Step-by-Step Battery Replacement Guide
Careful Steps for a Seamless Battery Replacement
Replacing the battery in your Remington Trimmer HC4250 is a straightforward process when approached methodically. Whether you're a longtime user of Remington products or new to the Quickcut family, these steps will guide you through the replacement efficiently.
Ensuring Safety First
- Always begin by ensuring the trimmer is turned off and unplugged from any power supply.
- Make sure your hands are dry to avoid any mishaps during the process.
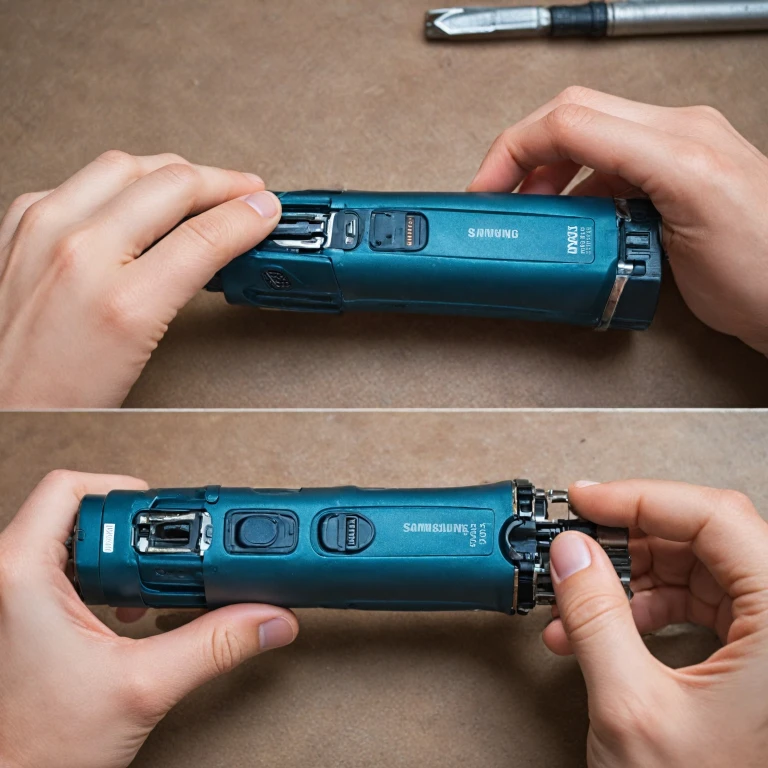
Disassembling Your Trimmer
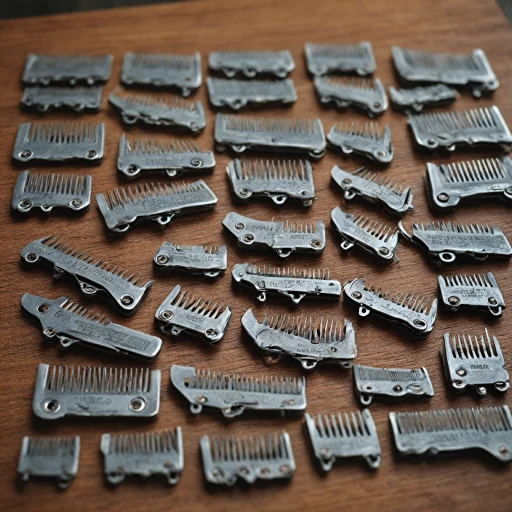
- Start by carefully removing the guide comb from your trimmer to prevent damage to the shaver blades.
- Next, use the appropriate screwdriver from your toolkit to gently unscrew the casing. Store the screws in a safe place to avoid losing any.
- Once the casing is open, you should have direct access to the battery compartment.
Removing the Old Battery
- Identify the Remington battery; it is often connected with a clip or a small set of wires within the compartment.
- Carefully disconnect the battery from these wires or clips, noting the orientation for when you install the new one.
- Dispose of the old battery responsibly by adhering to local electronic waste disposal regulations.
Installing the New Battery
- Position the new battery exactly as the old one was, ensuring the connections are secure and match the original configuration.
- Once the battery is placed, realign the trimmer casing and secure it back with the screws.
- Reattach the guide comb to your trimmer.
Testing the Trimmer
- Power on the trimmer to check if it is functioning correctly.
- Listen for any unusual sounds that might indicate improper installation or additional issues.
- If the trimmer works smoothly, your replacement is complete.
By following these steps, you should find the battery replacement to be a "quick" and hassle-free task, enhancing your grooming experience with the Remington trimmer. Regular feedback helps refine manufacturing, so don’t hesitate to leave your feedback after successful installations, as many verified purchases do on platforms like Amazon, where this product continues to earn high ratings and stars for its reliability and easy delivery process.
Tips for Maintaining Your Trimmer's Battery Life
Best Practices to Prolong Your Battery Life
Owning a Remington Quickcut or any other hair trimmer comes with the responsibility of maintaining its battery life to ensure consistent performance. The following tips can help prolong the lifespan of your Remington battery, cutting down the need for frequent replacements:
- Regular Charging Cycles: Avoid letting the battery drain completely before charging. Consistent charging can help maintain the battery's health and ensure a reliable power supply during haircuts.
- Optimal Storage Conditions: Store the clippers in a cool, dry place to prevent overheating and potential battery damage, which could lead to reduced longevity.
- Use the Correct Charger: Always use the charger provided in your Remington haircut kit or a compatible substitute to prevent overcharging or undercharging, which can degrade the battery.
- Regular Cleaning: Clean your hair clippers, including the blades and comb, according to the manual to ensure smooth operation and preserve battery life. This helps in maintaining the tool's efficiency.
- Avoid Overloading: Using the clippers for extended periods or cutting very thick hair can strain the battery. Take breaks to allow the blade and motor to cool down.
Implementing these practices not only enhances the performance of your Remington trimmer but also adds value by extending the battery's operational time. For those keen on avoiding premature battery replacements, this routine maintenance is crucial. Additionally, feedback on various models available on Amazon from verified purchase gives insight into other user experiences that can be valuable. Users often praise the delivery and design, highlighting stars for products like the Shortcut Pro series.
Troubleshooting Common Issues Post-Replacement
Tackling Post-Replacement Challenges
After successfully replacing the battery in your Remington Trimmer HC4250, it's crucial to anticipate and address any challenges that may arise. Here are some common issues often encountered by users and how to troubleshoot them:
- Trimmer Fails to Power On: After battery replacement, if your clipper doesn’t power on, double-check the battery connection. Ensure the battery terminals are secure and the power switch is engaged. If the problem persists, the issue might be with the power supply or the battery itself, even if it's new.
- Decreased Cutting Performance: Sometimes, newly installed batteries may not deliver optimal power to the blades. If your pro haircut results are not as smooth as before, examine the blades for wear or residue. Consider investing in a replacement blade from a verified source, such as Amazon, to ensure compatibility with your Remington product.
- Short Battery Life: If the new battery doesn’t last as long as expected, verify that the battery is fully charged. Keep in mind that overcharging can also shorten the battery lifespan. Follow the manual's instructions for charging to prevent this issue.
- Motor Noise Variation: Unusual sounds can indicate a misalignment during the assembly. Ensure the guide combs and trimmer components are correctly aligned. It's helpful to consult the user manual or online feedback to resolve any discrepancies.
- Overall Functionality: If most functions are operational but certain specific features are not, such as the quickcut feature or feedback indicator, it might be due to a configuration reset. Refer to the manual hair guide comb section or reach out to Remington’s customer support for detailed assistance.
By being aware of these potential issues and solutions, you can maintain your Remington hair clipper’s performance, ensuring it provides an efficient and quick solution for all your self-grooming needs. Be sure to share your experiences through verified purchase reviews to assist others in making informed decisions, enhancing the collective trust in the product.